


Description:
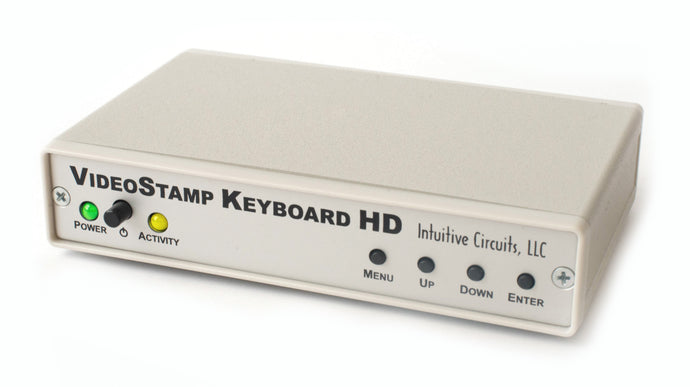
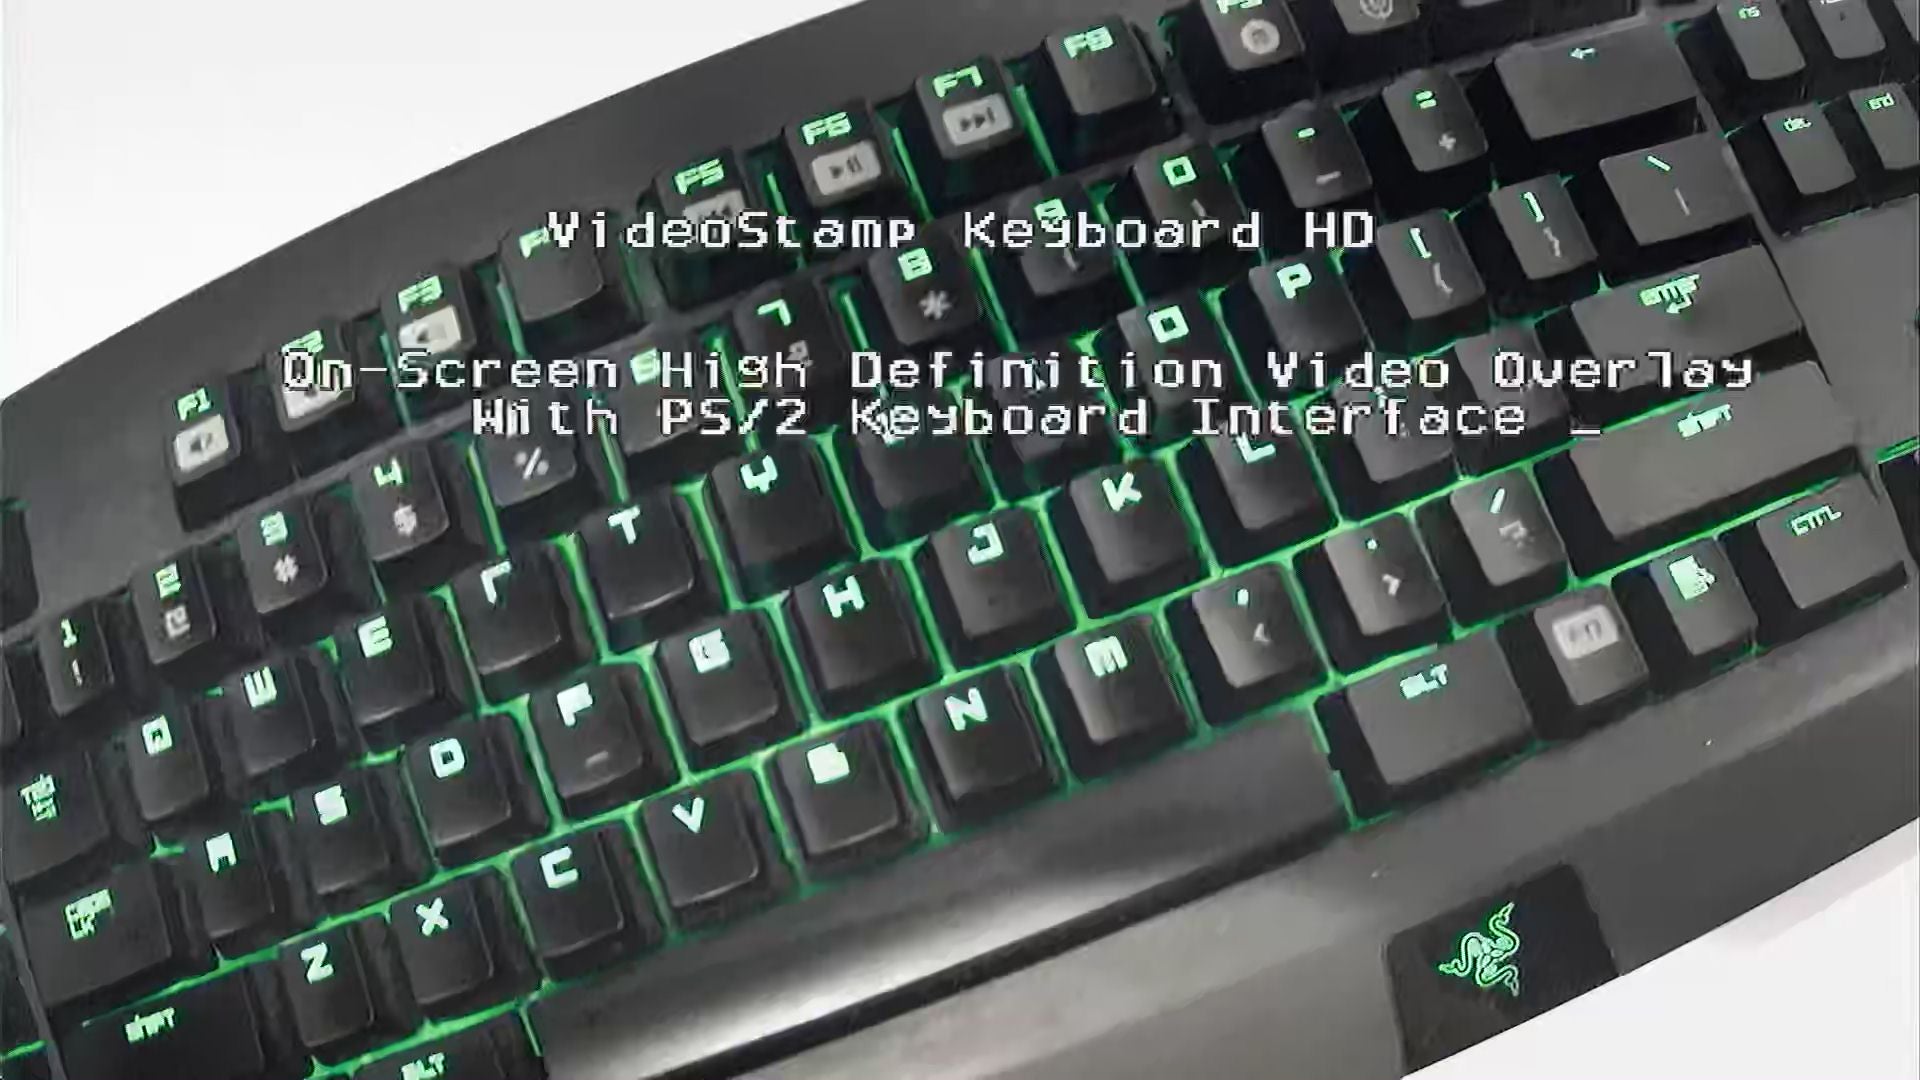
VideoStamp® Keyboard HD is a standalone on-screen HD video overlay device that overlays text entered through any standard PS/2 keyboard onto an incoming AHD, HD-TVI, and HD-CVI (720p / 1080p) video source such as a video camera. All information is stored in non-volatile memory so even with loss of power VideoStamp® Keyboard retains all screen information.
The text display options include always on, always off, on external input, and on a timer (for example display the text every 10 minutes for 15 seconds.)
Specifications:
| Dimensions: | 5 1/2" x 3 1/2" x 1 1/4" |
| Weight: | 10.5 oz. |
| RoHS compliant: | Yes |
| Input voltage: | 8.0 to 14.0 volts DC (150 ma max.) |
| DC plug: | 2.1 mm x 5.5 mm, center tip positive |
| Operating temperature: | -20C to +60C |
| Video formats: | AHD, HD-TVI, HD-CVI (720P and 1080P) |
| Video level: | 1 volt peak to peak |
| Video impedance: | Input 75 ohm, output 75 ohm resistively terminated |
| Keyboard input: | PS/2 keyboard (6-pin mini din connector) |
| Text area: | 49 columns by 22 rows (1,078 characters) |
| Text trigger methods: | Always on, always off, external input, and timer |
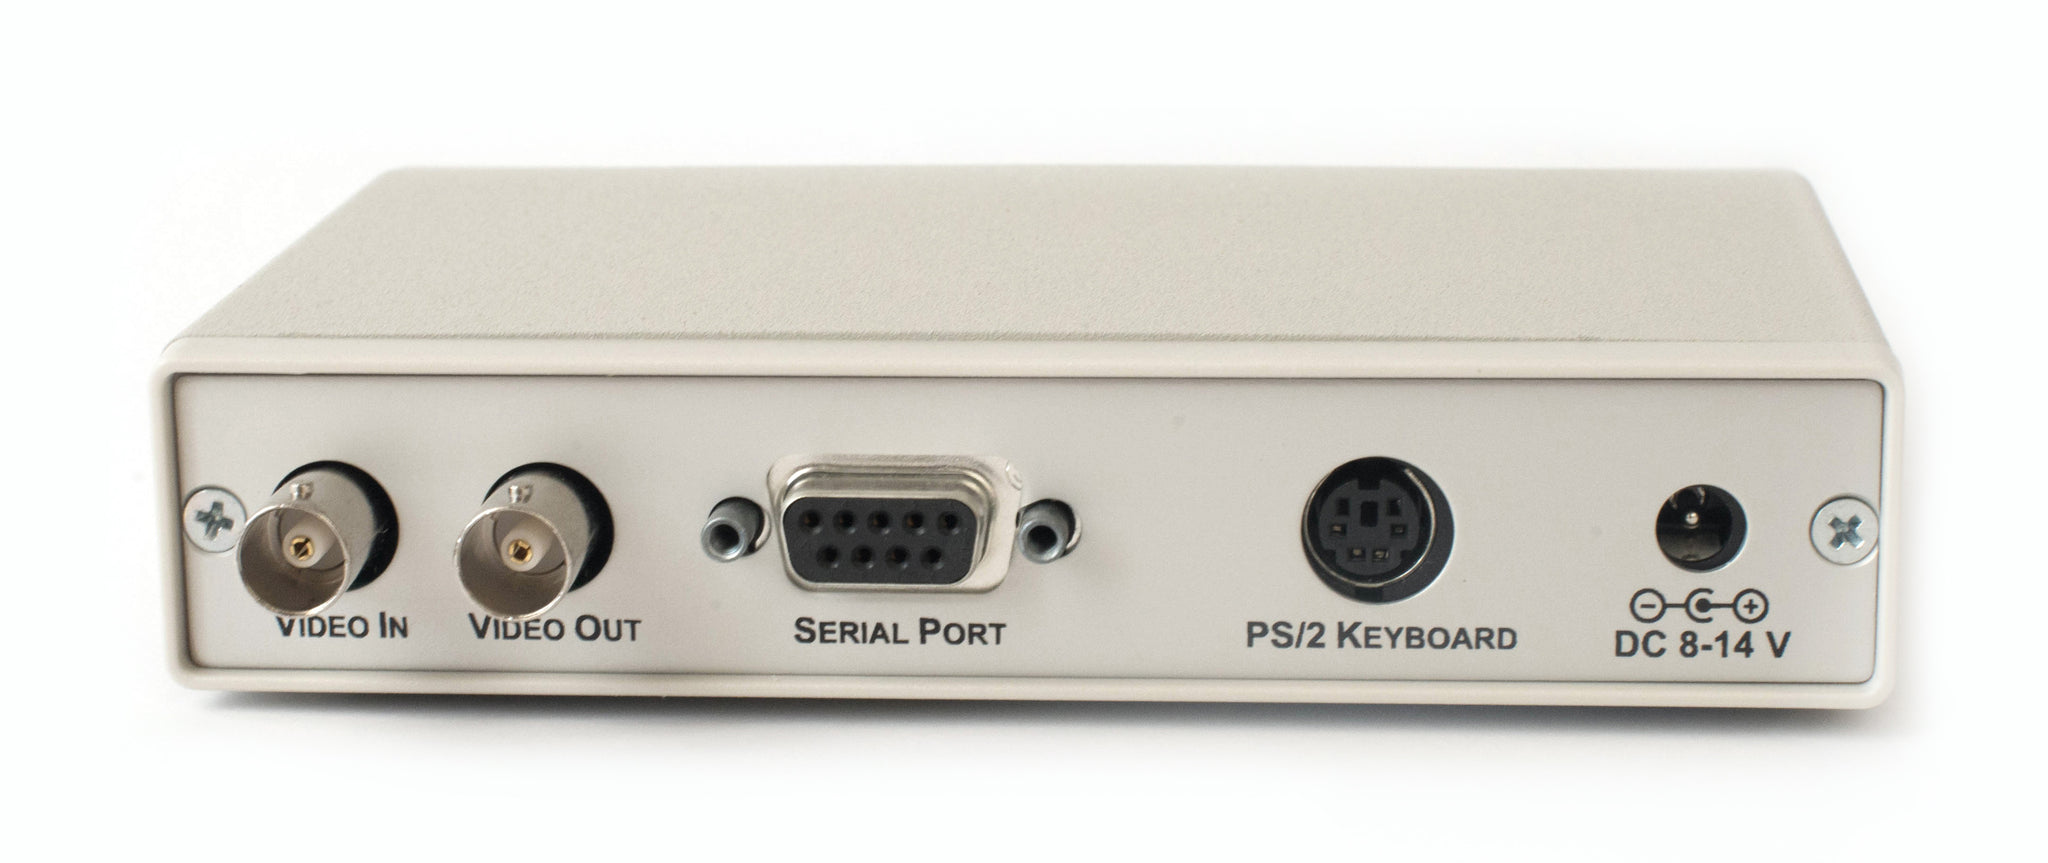
Connections:
VideoStamp® Keyboard HD has five connectors
| Connector | Hookup To |
| VIDEO IN | · Noise free AHD, HD-TVI, HD-CVI (720P and 1080P) video source |
| VIDEO OUT | · HD video monitor, HD DVR, HD video transmitter, etc. |
| SERIAL PORT | · PC RS-232 serial port for firmware updates |
| PS/2 KEYBOARD | · PS/2 keyboard (not supplied) |
| DC IN | · +8.0 to +14 volts VDC · 2.1 mm x 5.5 mm DC coax plug, center tip positive |
DIP Switch Configurations:
VideoStamp® Keyboard HD has 4 internal DIP switches. To access the DIP switches disconnect all cables from the VideoStamp® Keyboard HD unit then remove the 2 screws from the rear of the enclosure. The rear panel and bezel with the circuit board will slide out.
Note: DIP switches are only checked during power-up.
|
DIP # |
Description |
|
1 - 3 |
Reserved |
|
4 |
Factory Reset OFF = Normal operation ON = Factory Reset |
Firmware Update:
VideoStamp® Keyboard HD firmware updates are performed via the Intuitive Circuits “FirmUp” firmware loader application. To perform firmware updates attach the supplied RS-232 serial cable, press and hold the VideoStamp® Keyboard HD “UP” button, apply power to the unit, then release the “UP” button. Open and send the firmware file via the PC application.
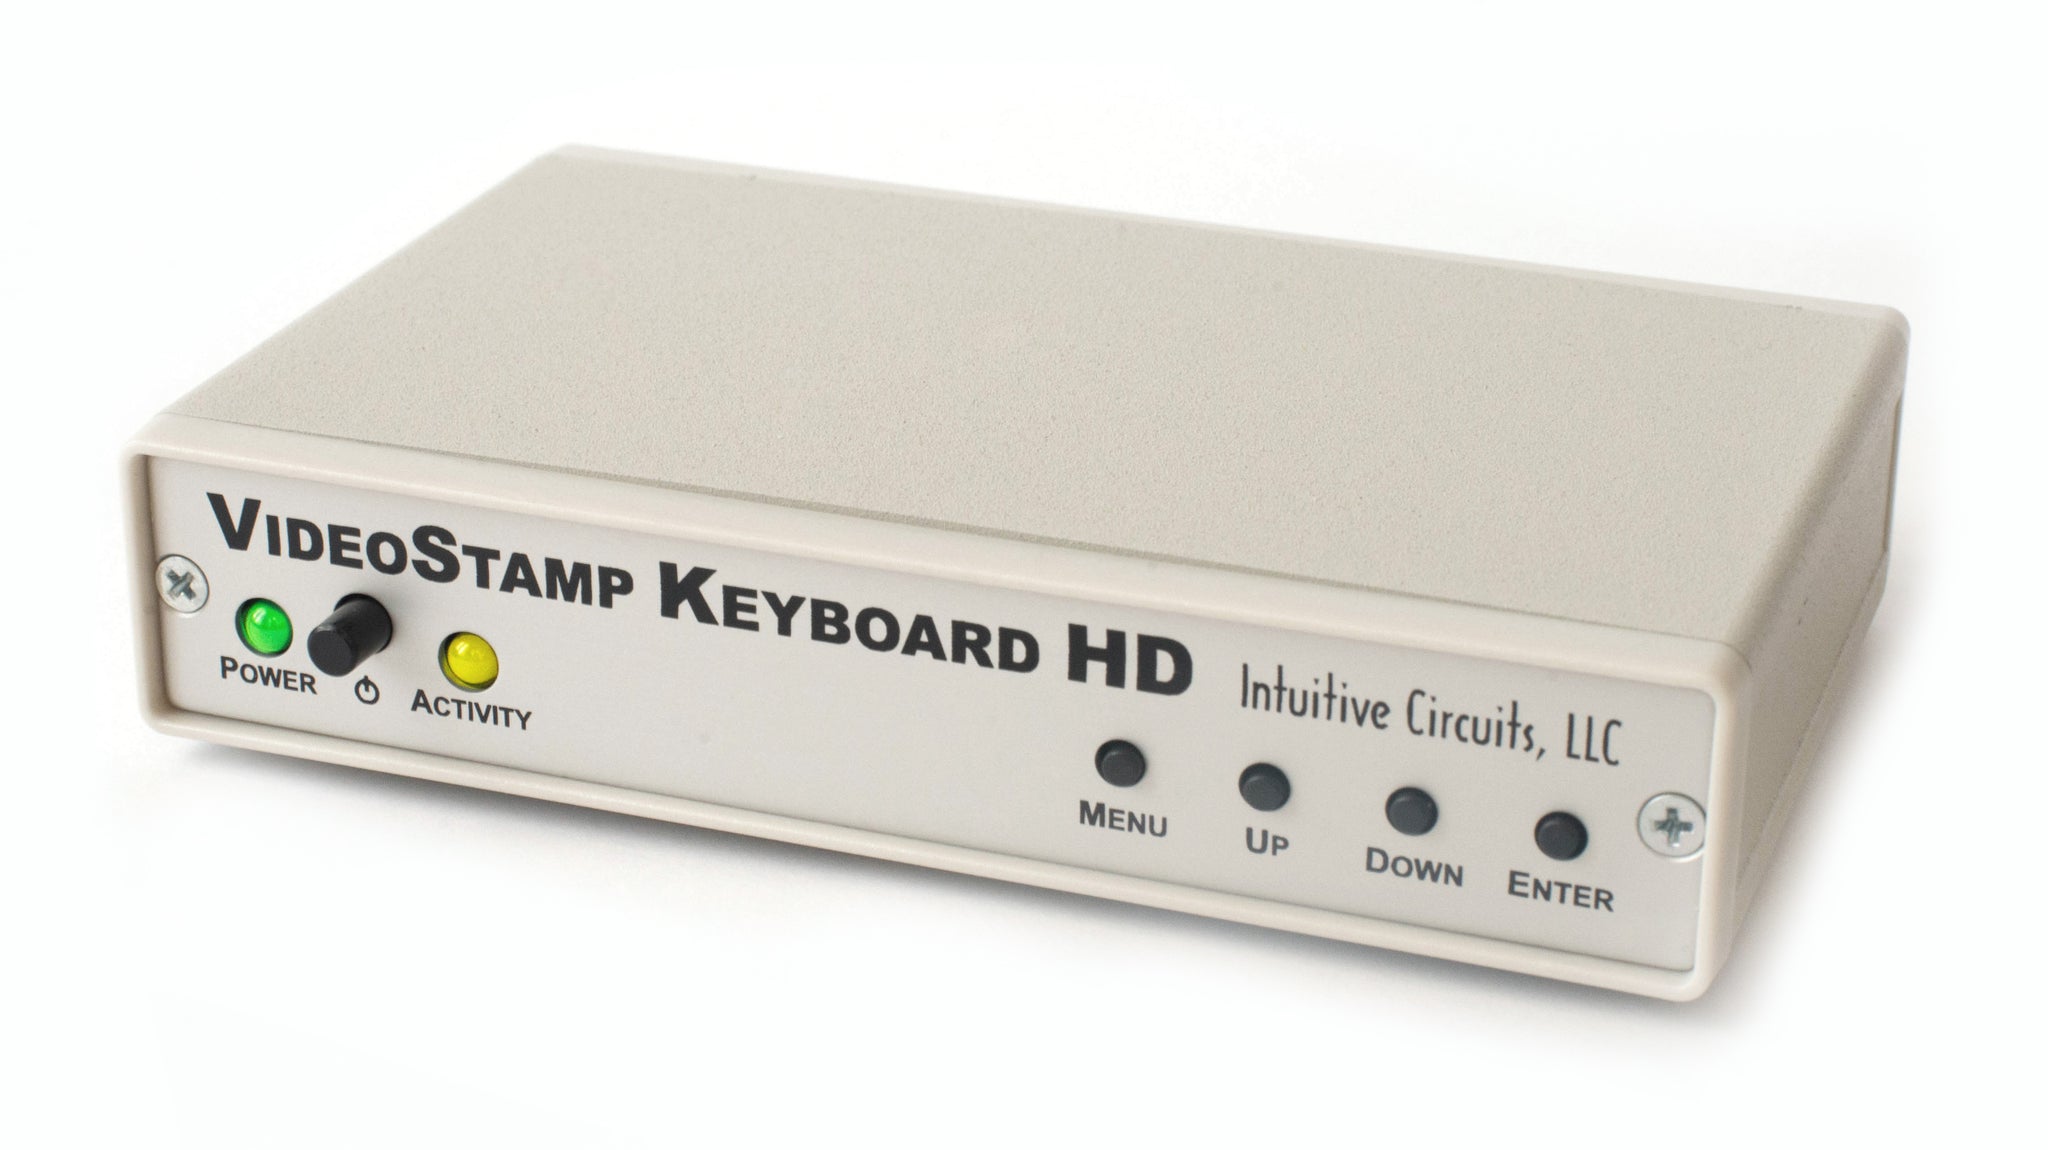
Operation:
- Apply power to the VideoStamp® Keyboard HD
- During power-up the yellow “Activity” LED will blink for 10 seconds
- User configured on-screen text will appear based on the configured display trigger options (see below)
- The yellow “Activity” LED illuminates when the user on-screen text is displayed
- Press the MENU button to enter the on-screen menu configuration (see below)
- Simultaneous press the “UP/DOWN” buttons to configure the incoming video input source (see below)
Configuring the Incoming Video Source:
- The VideoStamp® Keyboard HD unit must be configured to match the incoming video input source (AHD, HD-TVI, and HD-CVI 720p or 1080p)
- To match the incoming video input source press and release the “UP/DOWN” buttons simultaneously to cycle through the video options until stable text is visible on-screen (you will see an on-screen menu)
- Press and release the “ENTER” button once
- Wait for the on-screen VideoStamp® Keyboard HD restart message to appear
- The configuration information is stored in non-volatile memory so information is retained even with loss of power to VideoStamp® Keyboard HD
On-Screen Menu Configuration:
At any time press the “MENU” button to enter the on-screen menu configuration. The “UP”, “DOWN”, and “ENTER” buttons move the cursor and change the settings. All configuration information is stored in non-volatile memory so information is retained even with loss of power to VideoStamp® Keyboard HD.
Main Menu:
| Menu Option | Action / Setting |
| Overlay Trigger Options... | Display the Overlay Trigger Options Menu |
| Screen Margins... | Display the Screen Margins Menu |
| PS/2 Keyboard Screen Editor | Enter the PS/2 Keyboard Screen Editor |
| Save Changes and Exit | Save changes and exit the Main Menu |
| Discard Changes and Exit | Discard changes and exit the Main Menu |
Overlay Trigger Options Menu:
| Menu Option | Action / Setting |
| Trigger Type | On-screen text display trigger type method · ALWAYS ON · ALWAYS OFF · EXTERNAL INPUT (Pull “DISPLAY” jumper pin to ground or press “ENTER” button to toggle) · ON TIMER |
| Overlay Timer | Every -- Minutes For -- Seconds |
| Main Menu | Return to Main Menu |
Screen Margins Menu:
| Menu Option | Action / Setting |
| Left | Left screen margin (1 -> 49) |
| Right | Right screen margin (left margin -> 49) |
| Top | Top screen margin (1 -> 22) |
| Bottom | Bottom screen margin (top margin -> 22) |
| Reset to Defaults | Reset all values to default |
| Main Menu | Return to Main Menu |
Screen Editor Mode:
On-screen text is entered via a PS/2 keyboard (not supplied.) To enter the screen editor mode install the “EDIT” jumper, pull the “EDIT” jumper pin to ground, or select the “PS/2 Keyboard Screen Editor” option in the on-screen main menu. The underscore cursor will appear.
Keyboard Commands:
| Keypress | Action |
| ASCII Char | Insert character at cursor position |
| ESC | Save changes and exit editor mode |
| [ALT] ESC | Cancel changes and exit editor mode |
| Left Arrow | Move cursor left one column |
| Right Arrow | Move cursor right one column |
| Up Arrow | Move cursor up one row |
| Down Arrow | Move cursor down one row |
| Home | Moves cursor to the first column on the current row |
| End | Moves cursor to last typed character on the current row |
| Insert | Insert a space at the cursor and shift the text to the right |
| Delete | Delete the current character at the cursor and shift the text left |
| Enter | Move cursor to first column on the next row |
| Backspace | Delete the current character at the cursor and shift the text left |
| Tab | Move cursor right five columns |
| F1 | Display the help screen |
| [CTRL] [SHIFT] F12 | Clear the screen |
Warranty & Service:
If the product fails to perform as described in our product description or specification, within 1 year from the date of shipment to the buyer, we will repair or replace the product and/or accessories originally supplied. Failure due to improper installation, misuse, abuse or accident is not covered by this warranty. Incidental and consequential damages are not covered by this warranty. The buyer must first obtain a Return Material Authorization number by calling (248) 588-4400, or send email to support@icircuits.com. Ship the defective product (with RMA number) to Intuitive Circuits, 3928 Wardlow Ct., Troy, MI 48083, freight prepaid.